There’s nothing quite like that post-facial glow — skin feels cleaner, smoother, and maybe even […]
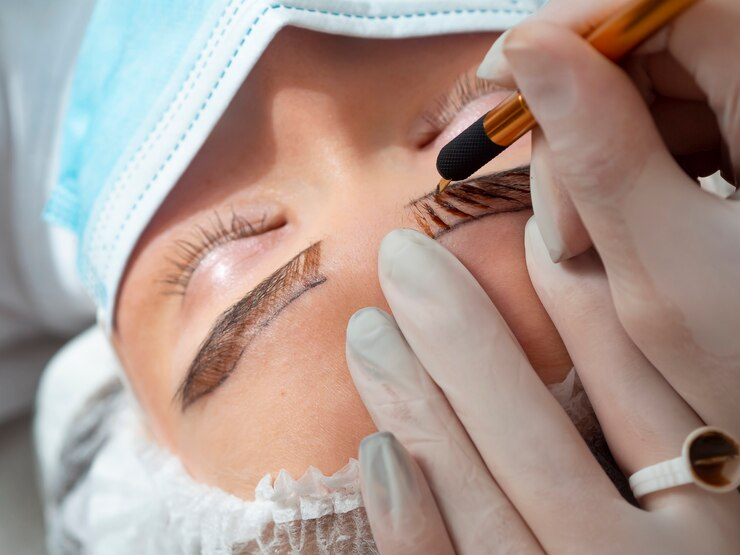
What Should You Avoid After Microblading?
So you’re wondering what to avoid after microblading? You’re already ahead of the game if […]
What Happens If You Skip Your Nano Brows Touch-Up?
At Face Figurati here in Melbourne, I get so many clients come in for their […]
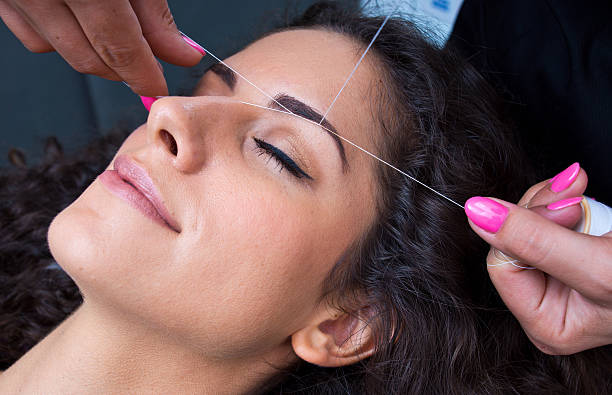
Best Eyebrow Shaping for Thick Brows: Waxing vs. Threading Showdown
When it comes to thick eyebrows, a robust grooming routine is key to achieving the […]
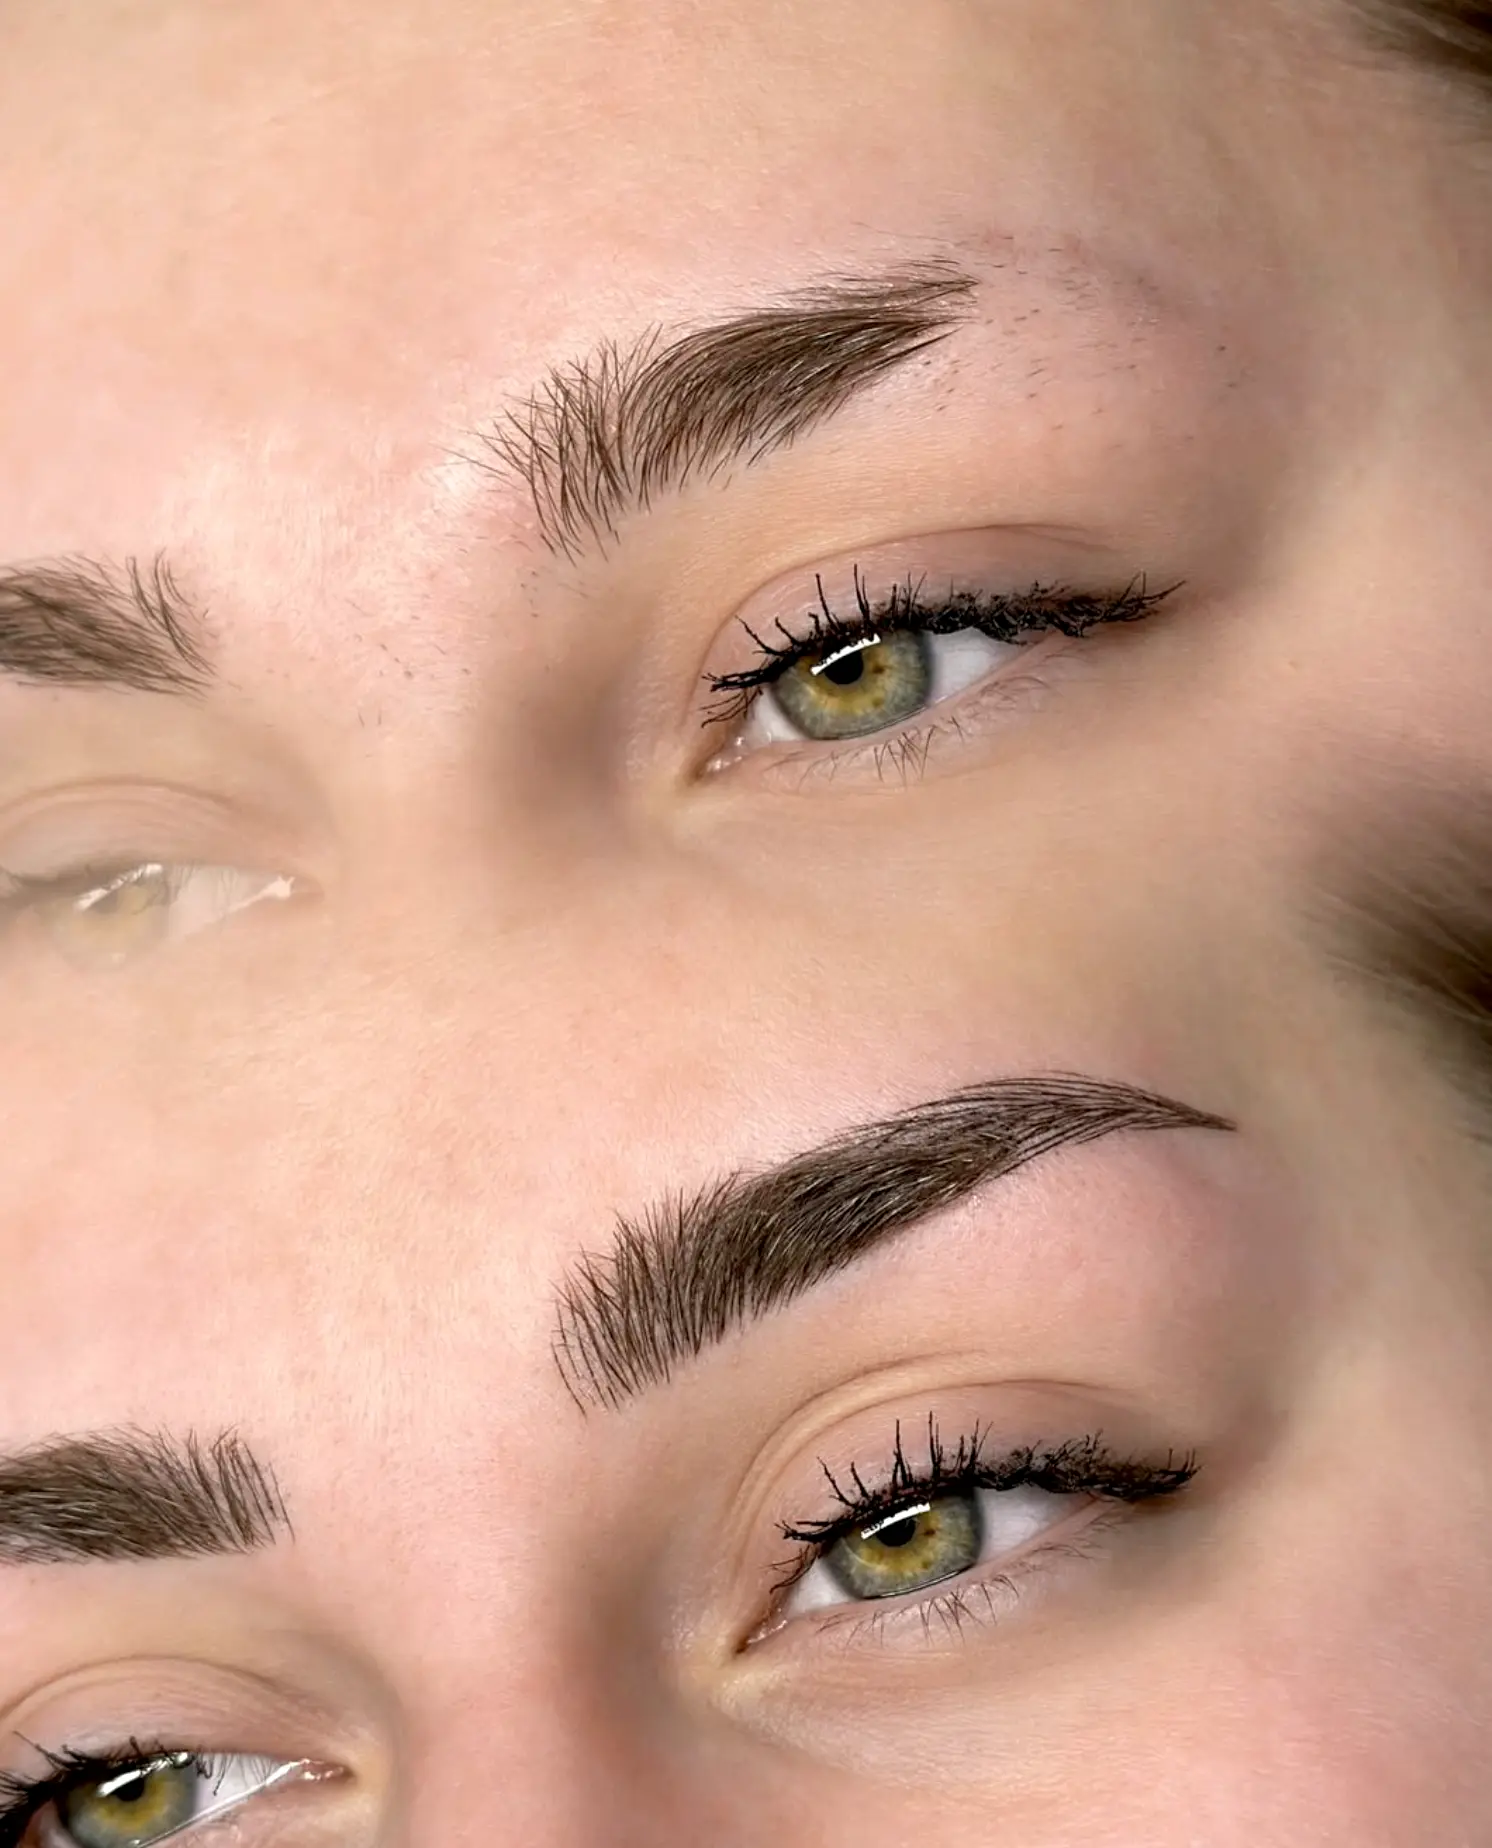
Tattooed Eyebrows in Brisbane: Longevity, Care, and Techniques
Embarking on the journey of enhancing your natural brows through tattoos can stir a mix […]
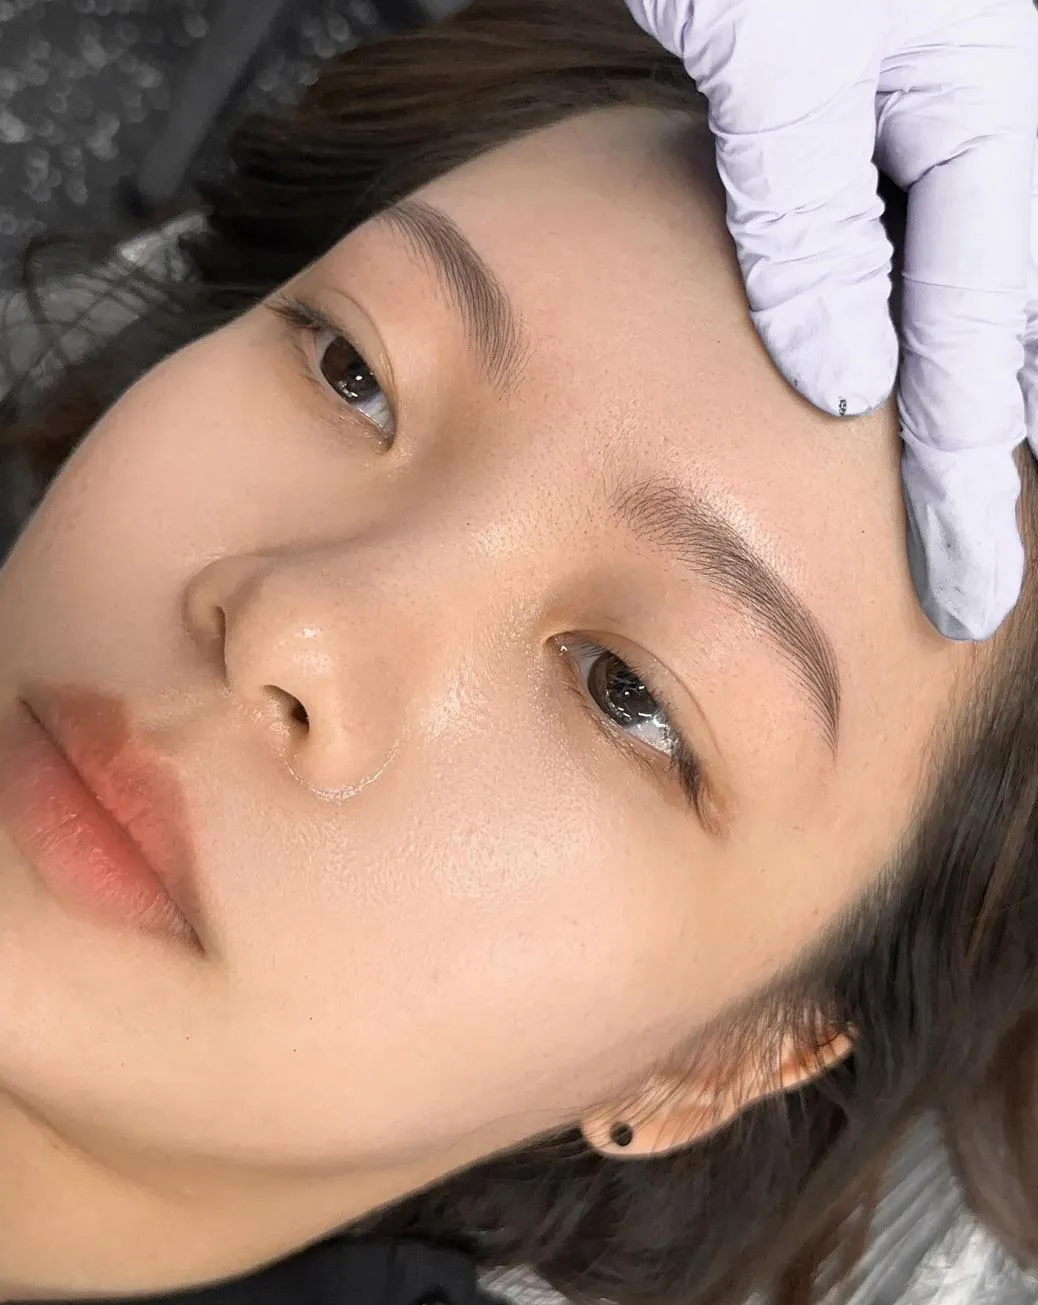
Microblading with Powder in Melbourne: Your Guide to Flawless Combo Brows
Nestled in the heart of Australia’s cultural capital, microblading Melbourne is transforming the beauty scene […]
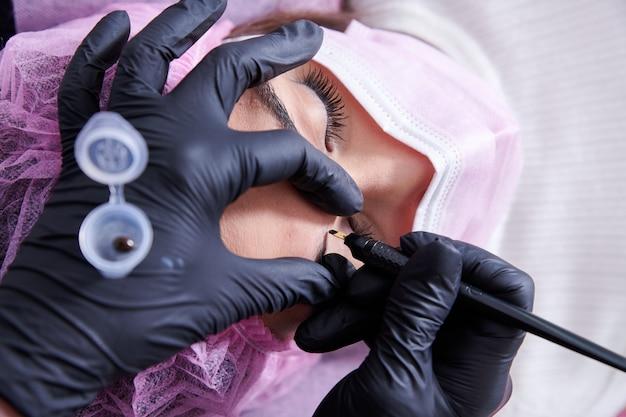
Semi-Permanent Eyebrow Microblading: Achieve Long-Lasting Defined Brows
When it comes to achieving flawlessly defined eyebrows, microblading has become the go-to solution for […]